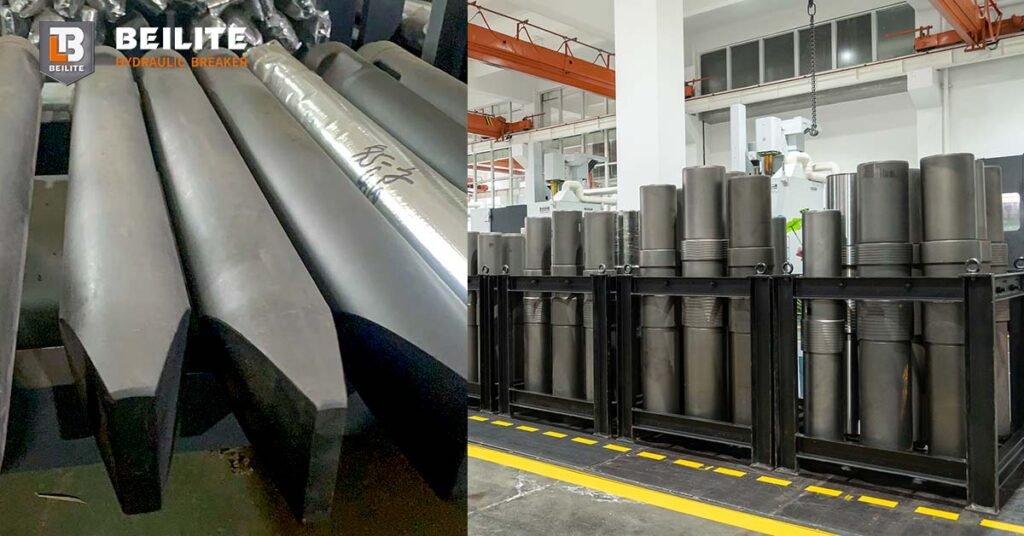
Hydraulic rock breakers operate under extreme impact forces during construction, mining, quarrying, and demolition applications. Among all components, the chisel tool and piston are two of the most important parts that directly affect breaking performance.
Regular inspection and correct replacement of these components help prevent unexpected downtime, improve impact efficiency, and extend the service life of the hydraulic breaker.
This guide explains when and how to replace hydraulic breaker chisel tools and pistons safely and correctly.
When Should a Hydraulic Breaker Chisel Tool Be Replaced?
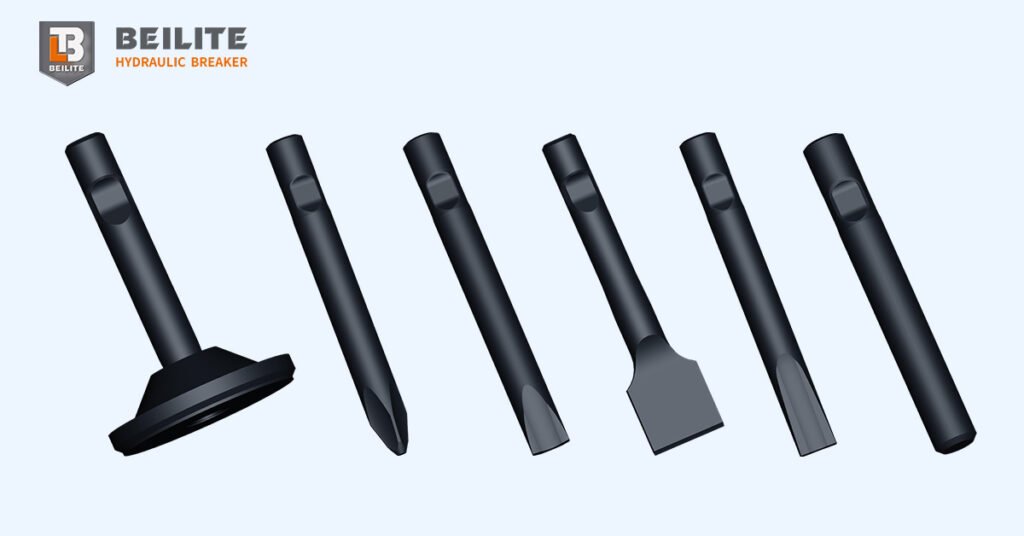
The chisel is the working tool that transfers impact energy from the piston to the material being broken. Because it is continuously exposed to impact, friction, and heat, it is one of the fastest-wearing parts of a hydraulic breaker.
Replace the chisel when you notice:
- Excessive tip wear
- Cracks or surface damage
- Mushroom-shaped deformation at the head
- Reduced breaking efficiency
- Bending or abnormal wear
- Increased vibration during operation
A worn chisel reduces impact performance and can increase stress on the breaker’s internal components.
Tools Required for Chisel Replacement
Before replacement, prepare:
- Correct replacement chisel
- Retainer pins or locking components
- Hydraulic breaker grease
- Suitable lifting equipment (for heavy chisels)
- Maintenance tools recommended by the manufacturer
Always confirm that the new chisel matches the hydraulic breaker model and specifications.
Steps to Replace a Hydraulic Breaker Chisel
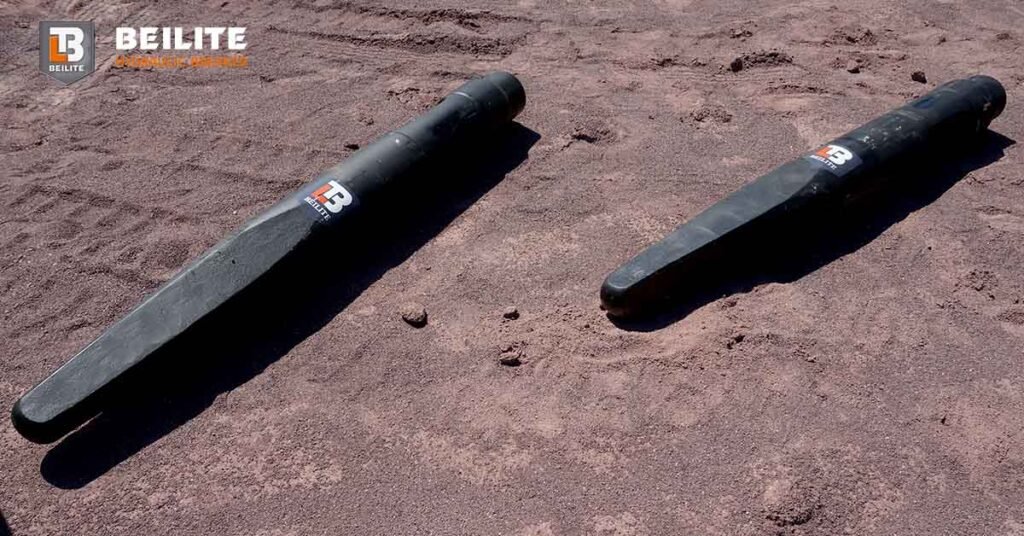
1. Stop Operation and Secure the Equipment
Before maintenance:
- Park the excavator on stable ground.
- Switch off the hydraulic system.
- Release hydraulic pressure.
- Allow the breaker to cool down.
Never replace a chisel while the breaker is under pressure.
2. Remove the Retainer Pin
Remove the locking pin or retainer system that holds the chisel inside the breaker housing.
Inspect the retainer components for:
- Wear
- Cracks
- Deformation
Replace damaged retainers if necessary.
3. Remove the Old Chisel
Carefully remove the worn chisel from the front head.
For large hydraulic breakers, use proper lifting equipment because chisels can be heavy.
Inspect:
- Tool bushing condition
- Front head wear
- Internal contact surfaces
4. Install the New Chisel
Before installation:
- Apply recommended grease to the chisel surface.
- Check correct alignment.
- Insert the new chisel into the front head.
Install the retainer pin securely according to manufacturer specifications.
5. Test the Rock Breaker
After replacement:
- Check for abnormal vibration.
- Confirm smooth operation.
- Apply sufficient lubrication before returning to full operation.
When Should a Hydraulic Rock Breaker Piston Be Replaced?
The piston is the internal component responsible for generating impact energy. It moves at high speed inside the cylinder and transfers hydraulic power into striking force.
Piston damage can significantly reduce breaker performance.
Common signs of piston problems include:
- Reduced impact power
- Irregular striking frequency
- Hydraulic oil leakage
- Scratches or scoring marks
- Cracks on the piston surface
- Abnormal operating noise
A damaged piston can also cause cylinder damage, resulting in expensive repairs.
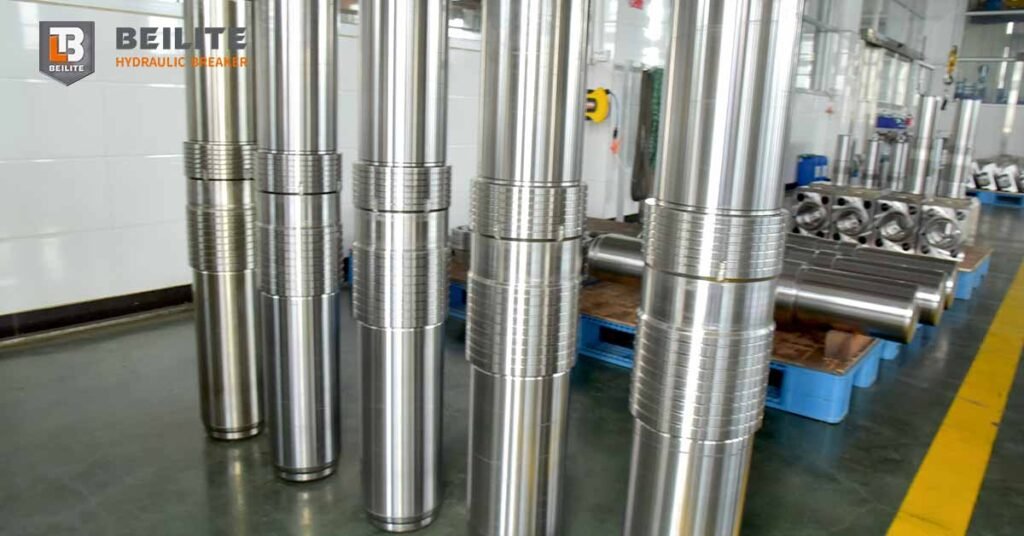
Steps to Replace a Hydraulic Breaker Piston
Replacing a piston requires technical knowledge and proper workshop conditions.
1. Remove the Hydraulic Breaker From the Excavator
Before disassembly:
- Disconnect hydraulic hoses.
- Clean external contamination.
- Place the breaker in a safe working area.
2. Drain Hydraulic Oil and Release Nitrogen Pressure
Before opening the breaker:
- Remove remaining hydraulic pressure.
- Release accumulator nitrogen pressure according to manufacturer instructions.
This step is essential for safety.
3. Disassemble the Breaker Housing
Remove necessary components, including:
- Front head
- Through bolts
- Side bolts
- Cylinder components
- Accumulator components (if required)
Inspect internal parts during disassembly.
4. Remove and Inspect the Old Piston
Check the piston for:
- Surface damage
- Wear marks
- Cracks
- Abnormal contact areas
Also inspect:
- Cylinder wall condition
- Seal condition
- Bushings
If the cylinder is damaged, replacing only the piston may not solve the problem.
5. Install the New Piston
Before installation:
- Clean all internal surfaces.
- Apply suitable hydraulic oil.
- Install new seals if required.
Insert the piston carefully into the cylinder.
Avoid impact or contamination during assembly.
6. Reassemble and Test
After installation:
- Tighten bolts according to specifications.
- Recharge nitrogen pressure correctly.
- Connect hydraulic hoses.
- Test breaker operation.
Monitor:
- Impact performance
- Oil leakage
- Noise level
- Operating stability
Maintenance Tips to Extend Chisel and Piston Life
To reduce replacement frequency:
Use Correct Lubrication
Regular greasing reduces friction between the chisel and bushings.
Avoid Blank Firing
Continuous operation without contact with material can damage the piston and internal components.
Maintain Correct Nitrogen Pressure
Incorrect pressure reduces impact efficiency and increases internal stress.
Check Tool Bushings Regularly
Worn bushings can create excessive movement and damage the chisel and piston.
Use Quality Spare Parts
High-quality components improve durability and protect the hydraulic breaker.
Beilite Hydraulic Breaker Spare Parts
Beilite supplies durable hydraulic breaker components designed for construction, mining, quarrying, and demolition applications.
Available spare parts include:
- Hydraulic breaker chisels
- Pistons
- Seal kits
- Tool bushings
- Front heads
- Cylinders
- Through bolts
- Side bolts
- Accumulators
- Repair kits
With reliable components and professional technical support, Beilite helps contractors reduce downtime and maintain efficient hydraulic breaker performance.