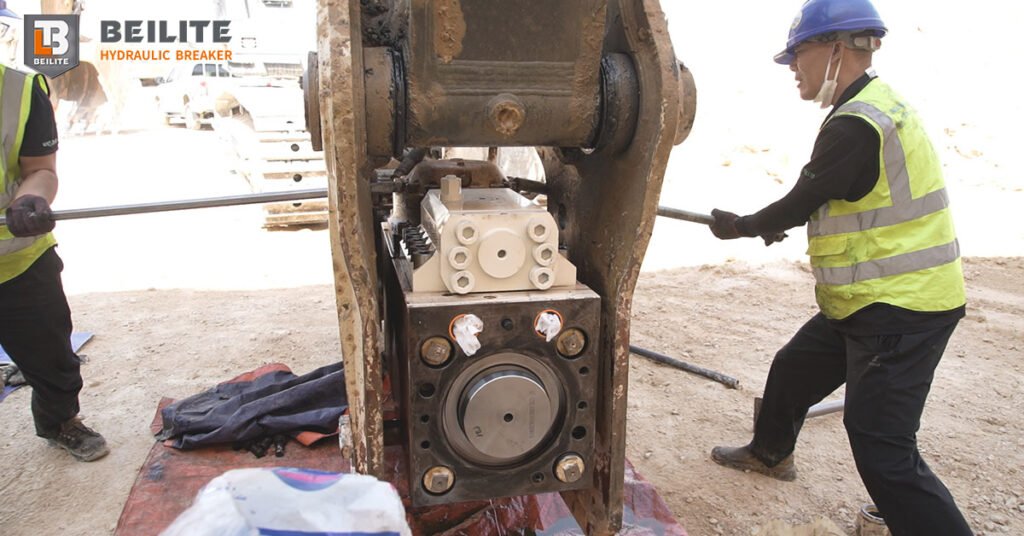
When a hydraulic breaker loses impact power, overheats or stops working, the cause may be the excavator’s hydraulic supply, incorrect operating technique, worn components or a maintenance problem.
Before replacing spare parts, check the machine and hydraulic breaker systematically. Always follow the manufacturer’s operating manual and safety instructions.
Safety first: Lower the attachment to a stable position, switch off the machine, relieve hydraulic pressure according to the manufacturer’s procedure and allow hot components to cool. Never inspect a pressurised hydraulic leak with your hands. Nitrogen charging and internal hydraulic repairs should be handled by trained personnel.
14 Common Hydraulic Breaker Problems
| Fault | Possible cause | Recommended action |
| 1. Weak impact power | Incorrect oil flow or pressure, worn spare parts or incorrect gas pressure | Verify the model’s hydraulic requirements and have the system inspected |
| 2. Hydraulic breaker will not operate | Closed isolation valve, electrical control fault or hydraulic supply problem | Check the carrier controls and hydraulic connections |
| 3. Intermittent striking | Unstable hydraulic supply, control-valve fault or internal wear | Check flow and pressure; arrange technical inspection if the fault continues |
| 4. Slow impact rate | Insufficient oil flow, restricted lines or incorrect settings | Measure actual flow and compare it with the model specification |
| 5. Breaker stops during operation | Hydraulic overheating, supply interruption or internal fault | Stop, inspect the hydraulic system and investigate the cause before restarting |
| 6. Hydraulic oil overheating | Excessive flow, incorrect pressure, restricted return or prolonged unsuitable operation | Check operating settings, return-line restriction and cooling performance |
| 7. Oil leaking from hose connections | Loose or damaged fittings, seals or hoses | Depressurise the system and have damaged components repaired or replaced |
| 8. Oil leaking around the tool | Worn tool seals, bushings or other components | Inspect the tool area and replace worn parts using the approved procedure |
| 9. Abnormal banging or vibration | Loose fasteners, worn bushings, incorrect operation or internal wear | Stop work and inspect fasteners, tool clearance and mounting components |
| 10. Chisel wears too quickly | Incorrect tool for the material, poor greasing or improper technique | Use the correct tool, follow the lubrication schedule and maintain proper positioning |
| 11. Chisel becomes stuck | Damaged or bent tool, worn bushings or debris around the tool | Stop operation and have the tool and bushings inspected |
| 12. Excessive blank firing | Tool loses contact with the material or the operator uses unsuitable technique | Keep the tool correctly positioned and stop striking when the material breaks |
| 13. Frequent seal failure | Contaminated oil, excessive temperature, pressure problems or incorrect installation | Check oil cleanliness, operating conditions and installation quality |
| 14. Breaker will not penetrate hard rock | Unsuitable tool, poor positioning, incorrect settings or material beyond the practical capacity of the setup | Check the tool, positioning and hydraulic specifications; reassess the breaking method if necessary |
These are troubleshooting starting points. A single symptom can have several causes, so confirm the fault before replacing components.
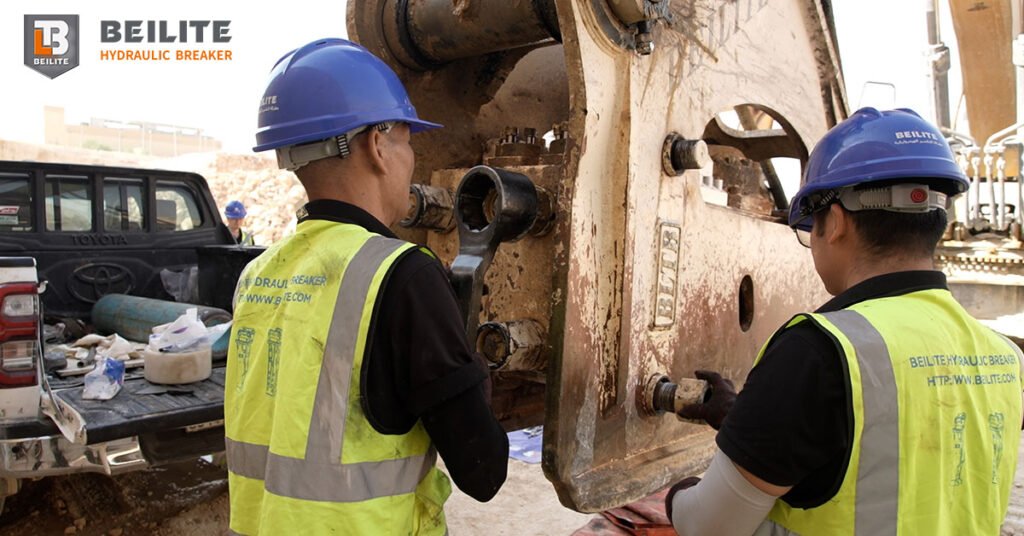
Five Checks Before Calling for Repairs
1. Check hydraulic flow and pressure. Compare the measured values with the exact rock breaker’s approved specifications. Do not assume that the excavator’s advertised pump capacity equals the flow delivered to the attachment.
2. Inspect the hoses and connections. Look for external damage, leaks, kinks and restricted return lines. Never tighten or disconnect a pressurised hydraulic fitting.
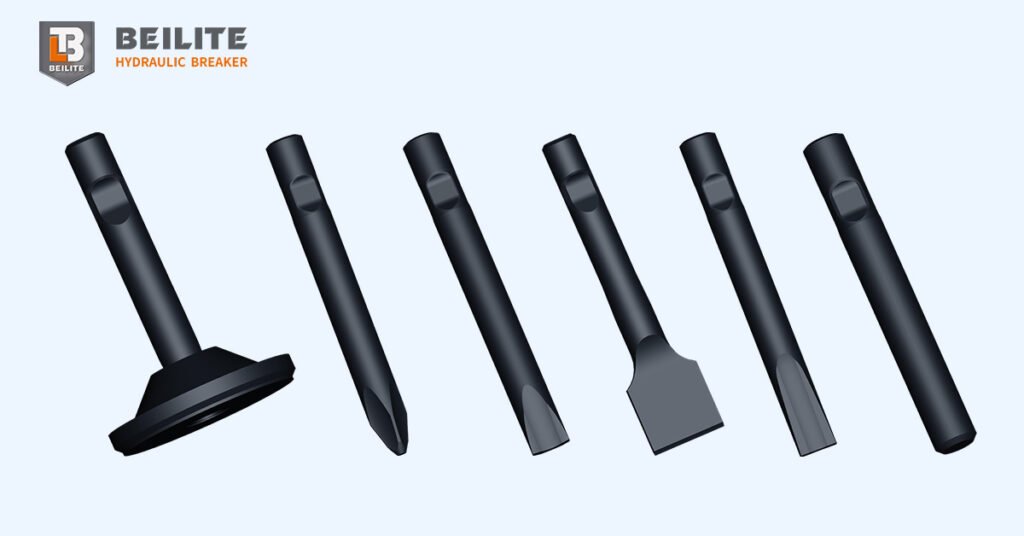
3. Check the tool and bushings. Excessive wear, damage or incorrect clearance can affect performance and cause further component damage.
4. Follow the lubrication schedule. Use the specified lubricant and intervals. Poor lubrication increases wear at the tool and bushing contact surfaces.
5. Review operating technique. Keep the tool properly positioned against the material. Avoid using the breaker as a lever or continuing to strike without effective contact.
When Does a Hydraulic Breaker Need Professional Repair?
Stop using the hydraulic breaker if you notice repeated seal failure, persistent abnormal noise, damaged hoses, severe overheating, structural cracks or continued loss of impact despite correct hydraulic settings.
Do not open the breaker body, adjust internal valves or change nitrogen pressure without the correct service procedure and equipment. Incorrect adjustments can cause equipment damage or serious injury.
Keep Your Beilite Hydraulic Breaker Working Properly
Correct model selection, routine inspection and suitable operating practices help reduce avoidable downtime.
If your Beilite hydraulic breaker has a persistent fault, record the model number, excavator make and model, symptoms, operating conditions and any recent maintenance. This information helps a technician assess the problem more efficiently.
Visit Beilite South Africa to review the hydraulic breaker specifications and contact the company to discuss your equipment requirements.
Frequently Asked Questions
Why is my hydraulic breaker losing power?
Possible causes include incorrect oil flow or pressure, restricted hydraulic lines, unsuitable operating conditions, worn components or incorrect gas pressure. Check the approved specifications before arranging repairs.
How often should I grease a hydraulic breaker?
Follow the maintenance schedule for your specific model and lubricant. Greasing frequency depends on the design, operating conditions and whether an automatic lubrication system is fitted.
Can I keep operating a breaker that is overheating or leaking?
No. Stop operation when there is a significant leak, excessive heat or an abnormal mechanical symptom. Have the cause identified and corrected before returning the equipment to service.